
To replace your kitchen sink drain, first shut off the water supply and clear the space under your sink.
Remove the old drain assembly by loosening slip nuts and unscrewing the locknut. Then lift out the drain flange.
Clean the sink opening thoroughly, removing old putty and grime.
Install the new flange with plumber’s putty and secure it with gaskets and a locknut.
Finally, reconnect the P-trap, tighten connections, and check for leaks.
Here’s how to complete each step confidently.
Key Takeaways
- Shut off water supply, clear workspace, and gather necessary tools like pliers, basin wrench, and putty knife before starting the drain replacement.
- Remove the old drain assembly by loosening slip nuts, detaching the P-trap, and unscrewing the drain flange and stopper if present.
- Clean the drain opening thoroughly, removing old putty and debris, and inspect for damage to ensure a smooth, even surface.
- Install the new drain flange with plumber’s putty or silicone, assemble the underside gaskets and locknut, and tighten securely without over-tightening.
- Reconnect the P-trap and tailpiece, hand-tighten slip nuts, run water to check for leaks, and adjust connections as needed.
Turn Off the Water Supply and Prepare Your Workspace

Before you begin replacing your kitchen sink drain, always turn off the nearby water supply valves to prevent accidental leaks or water damage.
Always shut off water supply valves before replacing your kitchen sink drain to avoid leaks and water damage.
Next, place a bucket or towel under the sink to catch any drips during the process.
Open the faucet briefly to relieve pressure and drain residual water from the lines.
Clear out the cabinet below, ensuring you have enough space to maneuver tools and parts safely.
Gather essential tools such as pliers, a pipe wrench, a basin wrench, and a putty knife.
These preparations help you work efficiently and avoid messes or injuries.
It’s important to understand the types of main water valves to operate them correctly and avoid plumbing issues during the process.
How to Safely Remove the Old Drain Assembly?
With the water supply shut off and your workspace cleared, you can now focus on disconnecting the old drain assembly.
Start by placing a bucket underneath to catch water and loosening the slip nuts connecting the P-trap to the tailpiece.
Remove the P-trap and empty any trapped water into the bucket.
Next, unscrew the locknut or strainer nut securing the drain body.
Carefully push the old drain flange upward from below the sink and twist it free from the opening.
If your sink has a stopper or pop-up mechanism, disconnect these parts as well.
- Loosen slip nuts on P-trap and tailpiece
- Remove P-trap and drain water
- Unscrew locknut securing drain body
- Push and twist drain flange free from sink opening
When dealing with stubborn clogs during removal, using a plumber’s auger can help clear the drain efficiently.
Clean and Inspect the Kitchen Sink Drain Opening
Cleaning and inspecting the sink drain opening guarantees a proper seal for your new drain assembly.
Begin by scraping away all old plumber’s putty, caulk, and grime with a putty knife, making certain no residue remains.
Next, wipe the area clean with a mild cleaner and dry it thoroughly.
Carefully inspect the sink rim and drain hole for chips, cracks, or other damage that could compromise the seal.
Remove any debris from threads and gasket surfaces to prevent leaks.
Confirm the opening is smooth and even; uneven surfaces will impair sealing and cause future leaks.
Taking these precise steps guarantees a reliable, watertight connection when you install the new drain flange and seals.
Avoid rushing this step, as it’s critical for long-term performance.
For optimal results, consider using a wax-free gasket to ensure a clean, repositionable, and leak-free installation.
Install the New Kitchen Sink Drain Flange and Seals
Once the sink drain opening is thoroughly cleaned and inspected, you can proceed to install the new drain flange and seals.
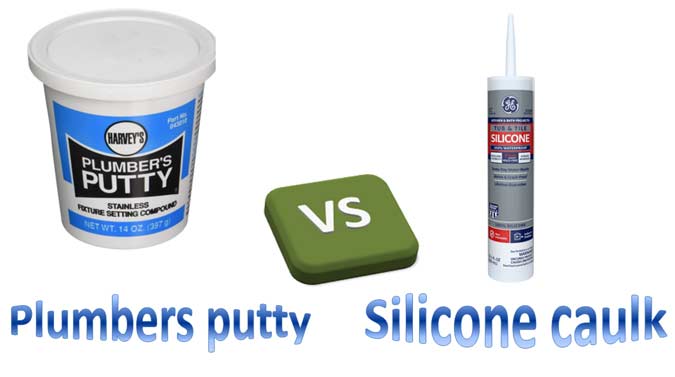
Begin by rolling plumber’s putty into a rope and placing it under the flange’s rim, or apply silicone caulk if specified by the product instructions.
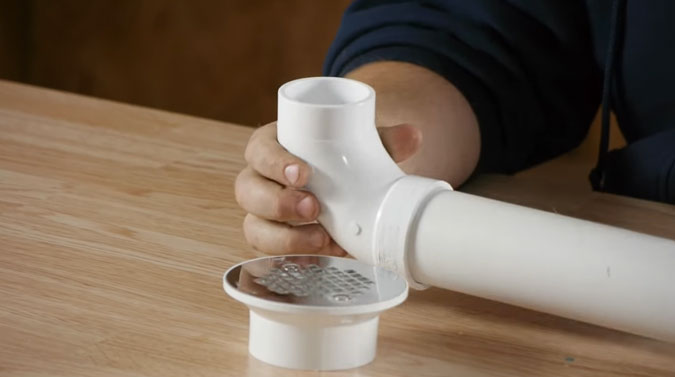
Insert the flange into the sink opening from above, pressing it firmly to create a watertight seal.
From underneath, assemble the seals and hardware in this order:
- Rubber gasket
- Paper gasket
- Washer
- Locknut
Hand-tighten the locknut, then use pliers or a basin wrench to snug it further without over-tightening.
This guarantees a secure, leak-proof connection while avoiding damage to the sink or flange. Proper gasket material compatibility is essential to ensure a durable and reliable seal.
Reconnect the P-Trap and Test for Leaks
Reconnect the tailpiece to the new drain flange by aligning it carefully and tightening the slip nut by hand.
Align the tailpiece with the new drain flange and hand-tighten the slip nut securely.
Next, attach the P-trap to the tailpiece, guaranteeing the washers are properly seated to prevent leaks.
Hand-tighten all slip nuts initially, then use pliers for a firm, final turn. Avoid over-tightening to prevent cracking or deformation.
Once assembled, run water through the sink to check all joints, including the flange, tailpiece, and P-trap connections, for any leaks.
If you spot drips, tighten the corresponding slip nut slightly and recheck.
Remove any excess plumber’s putty from the sink surface before finalizing.
Allow silicone sealants to cure completely if used.
Regularly inspecting and maintaining the wash shut off valve can help prevent leaks and prolong its lifespan.
This methodical approach guarantees a secure, watertight connection and prevents future plumbing issues.
Frequently Asked Questions
What Type of Plumber’s Putty Is Best for Kitchen Sinks?
You’ll want to use a non-hardening, oil-based plumber’s putty specifically designed for kitchen sinks. This type remains pliable and creates a watertight seal without cracking or shrinking over time.
Avoid latex-based putties, as they tend to dry out and lose effectiveness. Choose a reputable brand labeled for sink and drain applications to guarantee compatibility with metal and porcelain surfaces. This will help prevent leaks and make future repairs easier.
Can I Reuse Old Drain Parts When Replacing the Drain Assembly?
About 70% of leaks after drain replacement come from reused, worn parts. You shouldn’t reuse old drain parts, especially gaskets, washers, and locknuts, since they degrade and may cause leaks.
While metal components like tailpieces might be salvageable if undamaged, it’s best to replace all rubber seals and plumber’s putty to ensure a watertight fit. Investing in new parts prevents costly repairs and guarantees a reliable seal.
How Do I Remove Stubborn Rust or Mineral Buildup on Drain Fittings?
To remove stubborn rust or mineral buildup on drain fittings, soak the parts in a vinegar or lemon juice solution for 30 minutes to loosen deposits.
Scrub gently with a nylon brush or an old toothbrush to avoid damaging threads.
For tougher rust, use a rust remover gel following product instructions.
Rinse thoroughly and dry before reinstalling.
Avoid steel wool, which can scratch surfaces and accelerate corrosion.
What Should I Do if the New Flange Doesn’T Fit My Sink Opening?
Nearly 30% of kitchen sink drain replacements hit sizing issues. If the new flange doesn’t fit your sink opening, first double-check the flange diameter against the sink hole.
Don’t force it; forcing risks damage. You may need to source a flange matching your sink’s specific size or consider an adapter ring designed for irregular openings.
Measure carefully, consult manufacturer specs, and guarantee compatibility before installation to prevent leaks or costly repairs.
How Often Should Kitchen Sink Drains Be Replaced or Maintained?
You should maintain kitchen sink drains every six months by inspecting for leaks, clearing debris, and tightening fittings.
Replacement is typically needed every 10 to 15 years or sooner if you notice corrosion, persistent leaks, or damage.
Regular cleaning and checking seals help prevent costly repairs.
If your drain shows signs of wear or clogs frequently despite maintenance, it’s time to replace the drain assembly to guarantee proper function and avoid water damage.
Finish Your Kitchen Sink Drain Replacement With Confidence
Replacing your kitchen sink drain might seem intimidating, but with the right steps, it’s straightforward and manageable.
While the old, worn drain can cause leaks and frustration, installing a new flange and seals restores function and peace of mind.
By turning off the water, carefully removing the old assembly, and reconnecting the P-trap precisely, you’ll guarantee a leak-free sink.
The contrast between old problems and new solutions highlights the value of your effort.