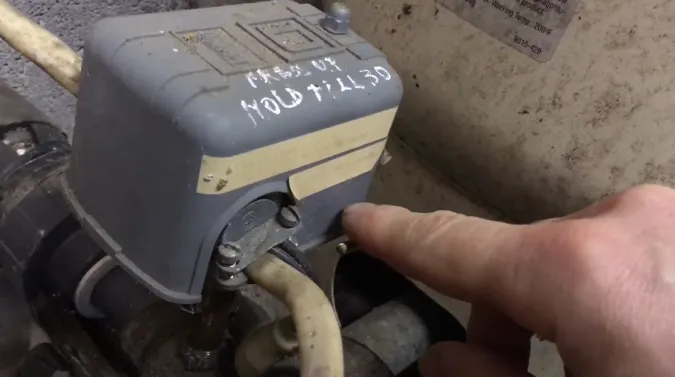
Are you in a bind with your well pump? Consider this scenario, you’re in the middle of a hot summer day, and suddenly, your well pump stops working. The pressure switch, the usual suspect, seems to be the problem. But how to reset the well pump without a pressure switch?
Check your circuit breakers for any that may have tripped. If a breaker has tripped, simply reset it to restore power to the pump. If the pressure switch is broken, it will need to be replaced. Filing down the contacts of a burned or pitted pressure switch can reset the contacts.
You can try rocking the tank if the switch is worn out. If the air valve in the pressure tank is flooded, it can be reset by draining the tank and opening the air valve to release any excess water.
This article explains how to reset your well pump without a pressure switch. So, let’s get in and get your well pump up and running again.
Steps on How Do You Reset Well Pump Without Pressure Switch
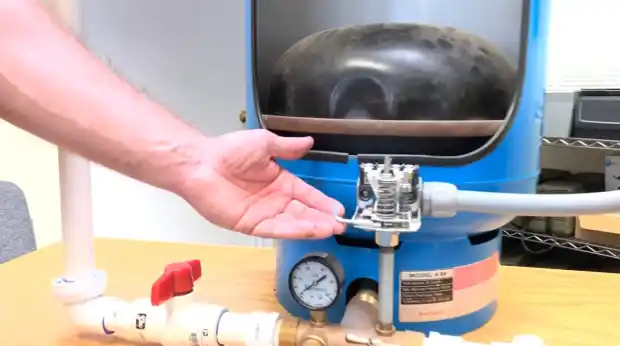
You need to follow some key steps to reset your well pump without a pressure switch. Here are the steps:
- Step 1: Check your circuit breakers for tripped ones
- Step 2: Replace the pressure switch if it’s broken
- Step 3: Reset the switch by filing off burned or pitted contacts
- Step 4: Reset the switch if it’s worn out by rocking the tank
- Step 5: Reset the air valve in the pressure tank if it’s flooded
- Step 6: Get a plumber or well pump expert for complicated situations
Let’s see each of these steps in detail.
Step 1: Check Your Circuit Breakers for Tripped Ones
To begin with, take a look at your circuit breakers and see if any of them have decided to take a little break themselves. Check your electrical panel for any tripped breakers. If you find one in the “OFF” position, reset it by flipping it back to the “ON” position.
Step 2: Replace the Pressure Switch if It’s Broken
If you have inspected the current setup and determined that the pressure switch is indeed broken, replacing it is the next logical step.
Begin by turning off the power to the well pump system. This can typically be done by flipping the circuit breaker that controls the well pump.
Next, locate the pressure switch, which is usually found near the pressure tank. Disconnect the electrical wires connected to the pressure switch, taking note of their positions for reconnection later.
Replace the old pressure switch with a new one by removing it from its mounting bracket. Connect the wires to the new pressure switch, ensuring they are properly secured.
Finally, turn the power back on and test the well pump system to ensure it functions correctly.
Step 3: Reset the Switch by Filing off Burned or Pitted Contacts
After replacing the broken pressure switch, you can reset the switch by gently filing off any burned or pitted contacts. This is similar to smoothing out rough edges on a piece of wood.
- First, ensure that the well pump’s power is turned off.
- Next, locate the contacts on the pressure switch. These contacts may appear blackened or have visible signs of wear.
- Carefully remove the burnt or pitted areas using a small file or sandpaper. Don’t file too much, as this could further damage the contacts.
- Once the contacts are smooth and clean, re-connect the power and test the pump to see if it operates correctly.
Step 4: Reset the Switch if It’s Worn Out by Rocking the Tank
To restore proper functionality to your good system, try rocking the tank if it’s worn out. It might just do the trick. Rocking the tank is an effective method to reset the pressure switch if it has become stuck due to wear or sediment accumulation.
This action involves physically moving the tank back and forth to dislodge any obstructions or debris causing the switch to malfunction.
To do this, locate the tank and firmly grasp it with both hands. Apply gentle but firm pressure in a rocking motion, ensuring the tank moves smoothly.
Repeat this action several times to ensure that any potential blockages are dislodged. After rocking the tank, check the pressure switch again to see if it has been reset and is now functioning properly.
Step 5: Reset the Air Valve in the Pressure Tank if It’s Flooded
If you find that your pressure tank is flooded, it’s time to dive in and give the air valve a reset, just like you would take a deep breath to reset your own energy.
- Start by locating the air valve on top of the tank.
- Use a tire pressure gauge to check the air pressure.
- If it’s significantly lower than the recommended pressure, which is usually 2 psi below the pump cut-in pressure, you’ll need to add air back into the tank.
- Grab an air compressor or a hand pump and begin adding air until the tank reaches the correct pressure level.
- This will help restore the tank’s ability to hold pressure properly and prevent waterlogging.
6. Be sure to monitor the pressure regularly to ensure it stays at the appropriate level.
Step 6: Get a Plumber or Well Pump Expert for Complicated Situations
If the above steps have not worked, hiring a professional plumber or well pump expert is the safest and most efficient solution when dealing with complex well pump issues. These experts possess the necessary knowledge, experience, and specialized tools to diagnose and resolve intricate problems in a safe manner.
Attempting to reset a well pump without a pressure switch can be challenging and potentially dangerous if you lack familiarity with well pump systems. In such cases, it is highly recommended to seek the assistance of a professional to avoid any further complications or potential hazards.
They have the expertise to accurately assess the situation and determine the best course of action. By relying on their technical skills and precision, you can ensure that your well pump is reset correctly and functioning optimally.
How to Tell if Your Pressure Switch Needs Fixing or Resetting?
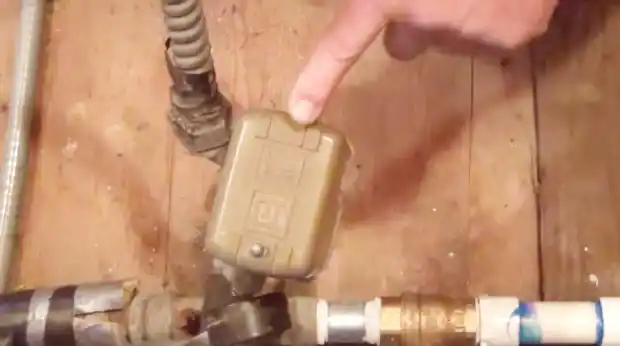
To determine whether you need to fix or reset your pressure switch, there are several key points to consider:
- Check for bad connections
- Inspect the electric contacts
- Check the switch’s metal discs
- Check the internal spring
- Access the switch
Here are these steps in more detail:
01. Check for Bad Connections
First, take a moment to inspect the connections for any signs of damage or corrosion. You don’t want any loose or faulty connections jeopardizing the functionality of your well pump.
Start by visually examining the wires, terminals, and connectors. Look for any frayed or exposed wires and any signs of rust or corrosion on the terminals or connectors. If you notice any issues, it’s important to address them promptly.
Tighten any loose connections and replace any damaged or corroded components. Additionally, check your well pump’s wiring diagram to ensure the connections are correct. A faulty or incorrect connection can cause the pressure switch to malfunction.
02. Inspect the Electric Contacts
When inspecting the electric contacts, it is important to closely examine them. Gently separate them after removing the internal spring to get a clear view of their condition and any potential issues. This step is crucial in determining if the contacts are functioning properly and if there are any signs of damage or wear.
- Look for any signs of corrosion or buildup on the contacts.
- Check for any loose or disconnected wires.
- Inspect the contacts for any signs of burning or discoloration, which may indicate an electrical problem.
03. Check the Switch’s Metal Discs
Take a moment to open the pressure tank and get a closer look at the metal discs. Their condition could be the key to solving your problem.
Examine each disc carefully for any signs of burning or pitting. These issues indicate bad contacts, preventing the well pump from functioning properly.
If you notice any disc that is burnt or pitted out, it is crucial to reset the pump pressure switch. Bad contacts can disrupt the electrical connection and malfunction the well pump.
To reset the pressure switch, turn off the power supply to the pump, then locate and press the reset button on the switch. This will restore the proper functioning of the pump and ensure a steady water supply.
04. Check the Internal Spring
To ensure a steady water supply, it’s important to check the internal spring for any faults that may disrupt the electrical connection and hinder the proper functioning of the water pump.
The internal spring is a crucial component of the pressure switch, responsible for regulating the pump’s on and off cycles based on water demand. If the spring is faulty, it can lead to irregular cycling and low water pressure. To check the internal spring, follow these steps:
- Turn off the power to the well pump.
- Remove the pressure switch cover.
- Locate the internal spring, which is typically connected to the switch’s metal discs.
- Inspect the spring for any signs of damage, such as breaks or deformities.
- If any faults are detected, replace the spring with a new one to ensure the proper functioning of the pressure switch and water pump.
05. Access the Switch
Before getting started, it’s crucial to get a grip on the situation and understand how to access the switch without causing any damage.
Begin using a screwdriver to move the plastic switch cover counterclockwise on top of the tank. This will uncover the switch and allow you to proceed.
Once the cover is removed, carefully examine the switch for any signs of damage or wear. Look for leaks and ensure that all connections are secure. Use your screwdriver to gently tighten any loose screws or connections.
Pay close attention to the internal spring of the switch, as this is a common source of issues. Inspect it for any signs of damage or misalignment. If necessary, replace the spring with a new one.
If you find any problems during these checks, you might need to fix or reset your pressure switch accordingly. Remember, for complex issues or if you’re unsure about handling it yourself, it’s best to hire a professional well guy or pump man to check and fix your well water pump and pressure switch.
Why is my well pressure switch not kicking on?
One possible reason for your well pressure switch not kicking on could be a malfunctioning relay or pressure sensor. This issue may require immediate resolution to prevent motor wear and damage.
To diagnose this issue, consider the following factors:
- Power supply problems: Check if there is a power outage or a tripped circuit breaker.
- Wiring issues: Inspect the wiring connections for any loose or damaged wires disrupting the electrical flow.
- Faulty relay: Test the relay by using a multimeter to check for continuity and proper functioning.
- Defective pressure sensor: Verify if the pressure sensor correctly detects the water pressure and sends the signal to the switch.
Can you run a well pump without a pressure switch?
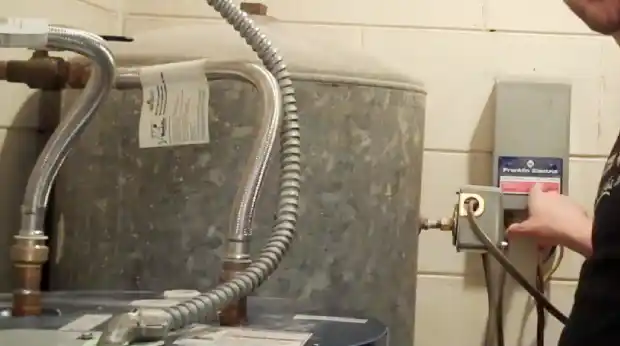
You can operate your well pump continuously, but it will significantly decrease its lifespan, potentially shortening it by 50% or more. Without a pressure switch, the pump would have to run every time a fixture is opened, causing rapid cycling that is not designed for.
To understand the impact of this, let’s consider a comparison between a well pump with a pressure switch and one without:
| Well Pump with Pressure Switch | Well Pump without Pressure Switch |
| Operates only when needed, reducing wear and tear | Runs continuously, increasing wear and tear |
| Longer lifespan | Shortened lifespan by 50% or more |
| Energy efficient | Energy-consuming |
| Cost-effective | Costly repairs and replacements |
Don’t Risk Damage to Your Well Pump
Resetting a well pump without a pressure switch can be a complex task. It is important to properly diagnose the issue and determine if the pressure switch needs fixing or resetting.
If the pressure switch is not kicking on, it may be due to various reasons such as electrical problems or a faulty switch. While running a well pump without a pressure switch is possible, it is not recommended as it can lead to potential damage to the pump.
It is always best to consult a professional to ensure proper functioning of your well pump system. Further investigation into the theory of running a well pump without a pressure switch could provide more insight into the risks and consequences involved.

