Start troubleshooting your reverse osmosis system by ensuring the feed water valve is fully open and inlet pressure is between 40–80 PSI.
Next, check the RO tank air pressure at the Schrader valve, draining it first and adjusting to about 2 PSI below pump cut-on pressure.
Inspect prefilters for clogging or damage and replace if necessary.
Low permeate flow usually points to membrane fouling or damage, so test and replace membranes as needed.
Also, verify all valves and switches operate properly for consistent flow.
You can explore further ways to fine-tune your system’s performance.
Key Takeaways
- Ensure feed water valve is fully open and feed pressure is between 40–80 PSI to maintain proper RO system flow.
- Measure and adjust RO tank air pressure to 5–8 PSI when empty, keeping it 2 PSI below pump cut-on pressure for optimal operation.
- Inspect and replace prefilter cartridges every six months or if clogged to prevent flow restriction and membrane damage.
- Diagnose low permeate flow by checking for membrane fouling or damage, replacing membranes when cleaning doesn’t improve output.
- Test all valves, including ASO and solenoid valves, ensuring they fully open and function correctly to maintain system water flow.
Check Water Supply and Feed Pressure

Before troubleshooting your reverse osmosis system, make sure the feed water valve is fully open to prevent inlet restriction.
Check that the incoming feed pressure meets the minimum requirement, typically around 40 PSI, with an ideal range of 60 to 80 PSI for most residential systems.
Low pressure can cause weak or no water flow.
Inspect sediment pre-filters for clogging, as blockages will reduce water reaching the membrane and lower output.
Remember, cold feed water can also reduce production rate, making flow seem insufficient.
Additionally, verify there’s no back pressure in the permeate plumbing; this can slow faucet delivery and reduce output.
Addressing these points guarantees your system receives adequate water supply and pressure, which is essential before moving on to other troubleshooting steps.
Using a backwashing sediment filter as a pre-filter can help maintain consistent water flow by preventing sediment buildup and reducing clogging.
Diagnose RO Tank Pressure Problems
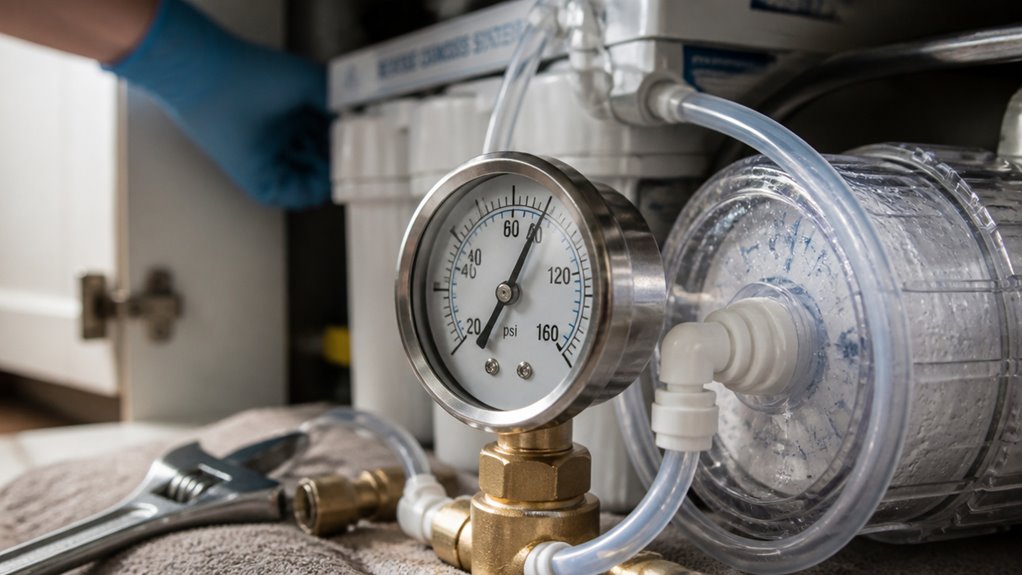
Check the RO storage tank pressure using a tire gauge at the Schrader valve to make certain it falls within the typical empty tank range of 5 to 8 PSI.
Use a tire gauge on the Schrader valve to ensure RO tank pressure is between 5 and 8 PSI when empty.
Make sure the tank is completely drained before measuring to avoid inaccurate readings.
If the pressure is below this range, it can cause slow or no flow at the faucet despite a functioning membrane.
To correct under-pressurization, first depressurize the tank by emptying it fully.
Then add air with a hand pump or compressor to reach the target pressure.
Never adjust pressure when the tank contains water, as this skews measurements and risks damage.
After adjustment, retest the pressure to confirm accuracy.
Proper tank pressure maintains consistent water flow and system efficiency, making this a critical diagnostic step in RO troubleshooting.
Regular maintenance, including checking and maintaining the tank’s air pressure about 2 psi below pump cut-on pressure, helps prevent erratic water pressure and pump wear.
Inspect and Replace Prefilters
Once you’ve confirmed the RO tank pressure is within the proper range, the next step is to inspect the prefilters. Clogged sediment prefilters commonly restrict water flow before it reaches the membrane, reducing system efficiency.
Here’s how to proceed:
- Shut off feed water and relieve system pressure before removing prefilter housings.
- Visually inspect prefilter cartridges for discoloration, sediment buildup, or damage.
- Replace cartridges if clogged or if they’ve been in service for about six months.
- Reassemble and open feed water valve fully to avoid inlet restriction.
Routine prefilter replacement prevents flow restriction and protects the membrane from premature fouling. Monitoring differential pressure across prefilters can help detect upstream clogging early, ensuring peak RO system performance. Selecting prefilters with appropriate micron ratings is essential to efficiently trap sediment without overly restricting flow.
Identify Membrane Fouling or Damage
Although prefilter and pressure issues often cause flow problems, persistent low permeate output usually indicates membrane fouling or damage. When feed pressure and prefilter conditions check out, suspect membrane clogging or mechanical failure.
Old membranes lose efficiency and may require replacement rather than cleaning.
Use this table to help identify membrane issues:
| Symptom | Possible Cause | Action |
|---|---|---|
| Low permeate flow | Fouled membrane | Replace membrane |
| No improvement after prefilter change | Membrane damage | Inspect and replace if needed |
| Reduced rejection rate | Membrane degradation | Test water quality, replace |
Regular inspection and timely replacement keep your RO system performing at peak performance. Filters with stable flow rates and timely replacement schedules help maintain overall system efficiency and prevent premature membrane wear.
Test Valves and Shutoff Components
To zero in on valve and shutoff component problems, start by verifying that all valves are fully open and free of obstruction.
Automatic shutoff (ASO) valves must reopen as tank pressure drops during use; a stuck ASO stops production. Check feed line shutoff valves to confirm they’re not partially closed, which restricts flow.
Solenoid or inlet valves that fail to open will cause no water at the faucet. Also, inspect high-pressure and low-pressure switches, as faults here can prevent system operation.
Follow these steps to test valves and shutoff components:
- Confirm feed water valve is fully open.
- Observe ASO valve operation during tank drawdown.
- Test solenoid/inlet valve response with system power.
- Verify pressure switch continuity and function.
This targeted testing isolates valve-related faults efficiently. Additionally, consider that some systems incorporate automatic water shut-off valves that monitor flow and can stop water supply to prevent leaks.
Frequently Asked Questions
How Often Should I Sanitize My Reverse Osmosis System?
You should sanitize your reverse osmosis system at least once a year to prevent bacterial growth and maintain water quality.
If you notice unusual tastes, odors, or slow flow rates, sanitize it more frequently.
Always sanitize during filter or membrane changes, typically every 6 to 12 months.
Follow manufacturer guidelines precisely, using appropriate sanitizing solutions.
Regular sanitization helps avoid contamination, protects system components, and guarantees peak performance and safe drinking water.
Can I Use RO Water for Plants or Aquariums?
Yes, you can use RO water for plants and aquariums, but you need to take into account its low mineral content.
For plants, RO water lacks essential nutrients, so supplement it with appropriate fertilizers to prevent deficiencies.
In aquariums, RO water provides a clean base, but you must remineralize it to maintain stable pH and essential minerals for aquatic life.
Always test water parameters regularly to ensure a healthy environment for plants or fish.
What Is the Typical Lifespan of RO System Tubing?
You’ll typically find RO system tubing lasts around 3 to 5 years, depending on water quality, exposure to sunlight, and system pressure.
Over time, tubing can become brittle, crack, or develop leaks, especially if it’s exposed to UV light or harsh chemicals.
Regular inspection is essential.
Replacing tubing proactively every few years helps maintain system integrity and prevents contamination or leaks that degrade your water quality and system performance.
How Do Temperature Changes Affect RO Water Quality?
How Do Temperature Changes Affect RO Water Quality?
Temperature changes affect RO water quality by altering membrane performance.
When water’s cold, it slows down the permeate production rate, making flow seem weak and reducing purification efficiency.
Conversely, warmer water can increase flow but may stress membranes, risking damage over time.
You’ll want to maintain stable, moderate temperatures to optimize water quality and system longevity.
Balancing flow rate with membrane integrity is essential for consistent, effective filtration.
Are There Any Benefits to Adding a Remineralization Filter?
Yes, adding a remineralization filter benefits you by restoring essential minerals like calcium and magnesium that RO systems remove.
This improves water taste, balances pH to reduce acidity, and promotes better hydration.
Additionally, it can protect plumbing and appliances from corrosion caused by overly pure, acidic water.
What to Check After Troubleshooting Your RO System?
Just like a skilled mechanic fine-tunes an engine, you can keep your reverse osmosis system running smoothly by regularly checking water supply, tank pressure, and prefilters.
Don’t overlook membrane condition or valve function. Each part plays a vital role.
By methodically troubleshooting these components, you guarantee consistent water quality and system longevity, preventing costly repairs.
Stay vigilant, and your RO system will perform like a well-oiled machine, delivering pure water day after day.