Last Updated on February 12, 2025
To use a rubber gasket for toilet installation, first, prepare your workspace and guarantee safety. Place the gasket onto the toilet tank, aligning bolt holes. Use rubber and metal washers correctly: rubber first, then metal, followed by nuts.
Apply even pressure while securing, but avoid overtightening. Reattach fill and flush valves snugly, reconnect the supply line and position the tank above the bowl.
Make sure everything’s secure, and check for leaks afterward. There’s more to guaranteeing a proper setup.
Key Takeaways
- Ensure the rubber gasket is compatible with your toilet’s size and model before installation.
- Place the gasket over the toilet tank’s bottom, aligning the bolt holes with the bowl.
- Use the correct order for washers: rubber washer, metal washer, then nut when securing the gasket.
- Apply even pressure while tightening to avoid over-compression and potential damage.
- Double-check the alignment of the gasket before securing to prevent leaks during operation.
Preparing the Workspace for Installation
Before you begin the toilet installation, prepare your workspace effectively.
Start by gathering your tools: an adjustable wrench, socket wrench, flathead and Phillips screwdrivers, plumber’s tape, and a level. Preparation for Toilet Removal is essential to ensure a smooth installation process. Verify proper ventilation in the area and wear gloves to protect your hands from chemicals.
Next, scrape any old wax residue from the toilet flange using a putty knife, and clean the area thoroughly with rags and towels. Inspect the subfloor for cracks or damage before proceeding. If necessary, cover the floor with protective material to prevent harm.
Finally, organize your installation materials, including the new toilet components, fastening materials, and sealing materials, to streamline the installation process.
Removing Old Components Safely
To guarantee a safe and efficient removal of old toilet components, start by shutting off the water supply to prevent any leaks during the process. Next, disconnect the toilet from the water supply line using an adjustable wrench.
Drain the toilet completely to avoid spills, and wear gloves for safety. The average removal time is 30 to 45 minutes, so plan accordingly to ensure a smooth process.
| Step | Action | Tools Required |
|---|---|---|
| Disconnect Water Supply | Shut off and disconnect the line | Adjustable wrench |
| Remove Old Wax Ring | Scrape with a putty knife | Putty knife |
| Clean Flange Area | Inspect and clean thoroughly | Stiff brush, scraper |
Dispose of the old wax ring and caulk responsibly. Ascertain the flange is clear of debris before proceeding with the installation.
Installing the New Gasket Correctly

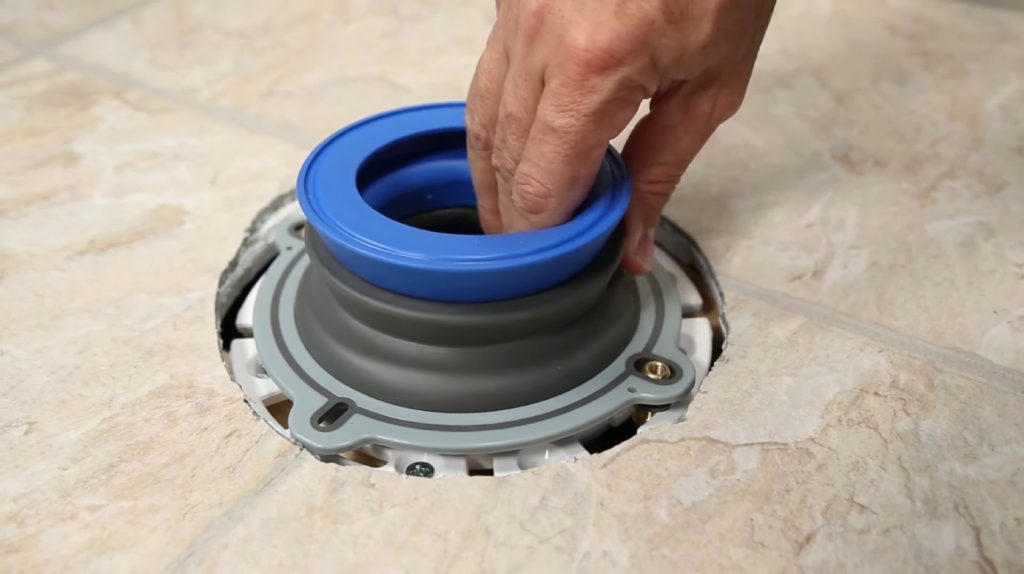
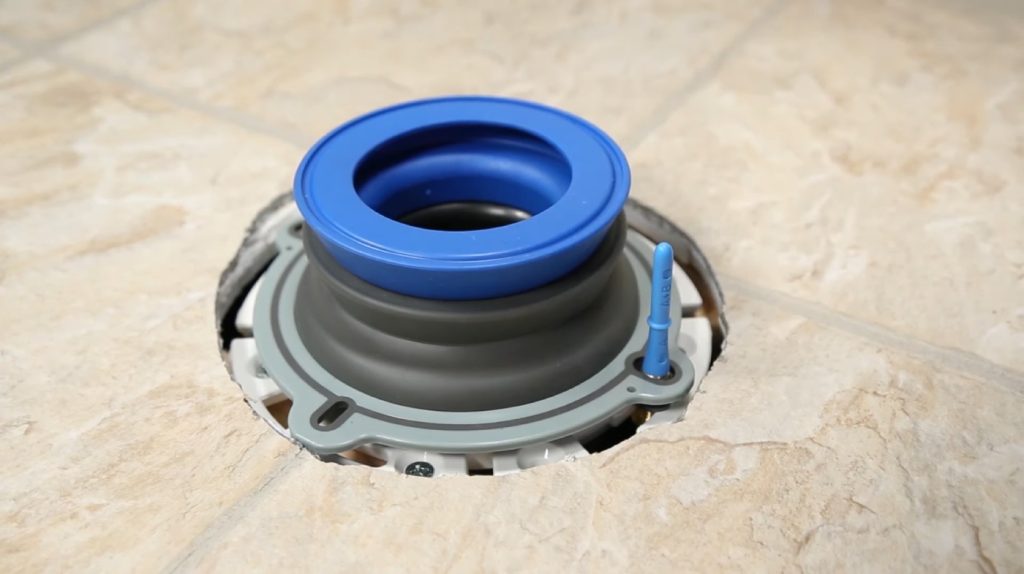
As you prepare to install the new gasket, confirm it’s compatible with your toilet‘s size and model for an effective seal.
Start by placing the gasket over the bottom of the toilet tank, ensuring the bolt holes align perfectly with the toilet bowl. Use rubber and metal washers in the correct order: a rubber washer first, followed by a metal washer, and then the nut underneath.
Follow along with the tutorial to ensure you don’t miss any important steps in the process. Apply even pressure while securing the gasket to confirm a proper seal, but avoid over-tightening, as this can damage the porcelain.
Once everything is in place, double-check the alignment before moving on to securing the toilet tank. Proper installation now will prevent leaks and confirm longevity for your toilet.
Reassembling the Toilet Tank Effectively
With the gasket securely in place, the next step is reassembling the toilet tank. Start by reattaching the fill and flush valves, making certain they’re fastened snugly. It’s important to turn off the water supply before proceeding to avoid any spills during the process.
Next, reconnect the supply line to the tank by tightening the coupling nut. If you removed the tank, carefully place it back over the bowl and secure it with tank-to-bowl bolts.
Be sure to tighten all components securely, but avoid overtightening to prevent damage.
| Step | Action |
|---|---|
| 1. Reattach Valves | Make certain valves are securely fastened |
| 2. Reinstall Supply Line | Tighten the coupling nut |
| 3. Secure Tank | Replace tank over the bowl |
| 4. Tighten Components | Make certain snug fit without overtightening |
| 5. Final Checks | Verify all connections are secure |
Testing for Leaks and Ensuring Functionality
Once you’ve reassembled the toilet tank and secured all connections, it’s essential to test for leaks and verify functionality.
Start by performing a dye test: add 15-20 drops of food coloring into the tank. Wait 30 minutes and check the bowl for any color change, indicating a leak.
Toilets are the number one water wasters globally, so addressing any leaks promptly can significantly reduce water waste. Regular maintenance, including checking for worn flapper seals, can prevent leaks from occurring.
Common leak points include the flapper and overflow tube, so inspect these areas closely. If you detect a leak, check the flapper for cracks or improper sealing.
Additionally, look for leaks around the base, which may be due to loose tee bolts or a failing wax ring. Tighten the tee bolts first, and if leaks persist, consider replacing the wax ring or rubber seal.
Frequently Asked Questions
What Type of Rubber Gasket Is Best for Toilet Installation?
When choosing the best rubber gasket for toilet installation, consider options like the Fluidmaster Rubber Seal for durability and adjustability. The Sani Seal offers a universal fit, guaranteeing a leak-free experience.
If you need to accommodate different flange heights, look for stackable designs. Reinforced materials can enhance durability, while multi-purpose compatibility allows you to use the gasket with various flanges and toilets.
How Often Should I Replace the Toilet Gasket?
Replacing your toilet gasket is like tending to a leaky faucet; neglecting it can lead to bigger problems.
Typically, you should replace the gasket every three to five years, but keep an eye out for signs like water leaks or unpleasant odors, which indicate it’s time for a change.
If your toilet wobbles or you see visible wear, don’t hesitate—replace that gasket to maintain a secure and odor-free bathroom.
Can I Use Silicone Instead of a Rubber Gasket?
You can’t use silicone as a primary seal instead of a rubber gasket. Silicone enhances the seal when applied around the rubber gasket, but it lacks the structural integrity needed for initial sealing.
Rubber gaskets provide durability and reusability, making them ideal for toilet installations. If you’re looking to prevent leaks effectively, stick with rubber gaskets and consider using silicone for added security, but don’t rely on silicone alone.
What Tools Are Needed for Gasket Replacement?
When tackling a gasket replacement, you’ll need a few essential tools. Grab an adjustable wrench to manage bolts, channellock pliers for tricky fittings, and a deep socket set for tank bolts.
Don’t forget a putty knife for removing old wax. A bucket helps catch spills, while gloves and rags keep your hands and area clean. Having these tools ready guarantees a smoother, more efficient replacement process. You’re all set to plunge in!
Are There Any Specific Brands Recommended for Toilet Gaskets?
When choosing a toilet gasket, consider reputable brands like Fluidmaster, Korky, Danco, Sani Seal LLC, and Kohler. Fluidmaster’s waxless options simplify installation, while Korky’s kit accommodates various flange heights.
Danco offers a strong, leak-resistant seal, and Sani Seal provides innovative designs for easy setups. Kohler’s gasket is primarily for tank installations.
Each brand has unique features, so evaluate your specific needs to select the best option for your toilet installation.
Drips & Drops: Spotting Leaks Before They Get Worse
Now that you’ve installed the new rubber gasket and reassembled the toilet, it’s time for the moment of truth. Turn on the water supply and watch closely for any signs of leaks. A small drip could mean a big problem, so stay vigilant.
If everything holds tight, congratulations—you’ve successfully upgraded your toilet! But if something seems off, don’t panic. Understanding the issue now will save you from a bigger mess later. Keep a watchful eye.


